![]()
Are you tired of checking 5 different inboxes? Keeping track of multiple email addresses is highly inconvenient and doesn’t help the problem of inbox overload.
An easy way to deal with this is to consolidate your multiple personal email addresses, so that mail for more than one address all arrives inside the Inbox for one of your accounts. You’ll be able to send and reply to emails “from” either of your addresses still too.
Here are some sample instructions on how to set up forwarding for some popular hosts:
Gmail
Hotmail
Yahoo
Office365
Exchange
Gmail
1. Login to email account A (the address you need to forward emails from) and click or tap on the gear-icon (upper-right) and go to Settings. Here’s a direct link.

2. Select the Forwarding and POP/IMAP tab.

3. From the “Forwarding” section, select ‘Add a forwarding address‘ and fill in the email account address B to which you’d like your account A emails forwarded to.

4. After Clicking Next, a confirmation dialog box will open and you’ll click the Proceed button to confirm your entry. A confirmation code will be sent to email account B, the address you just entered.

5. Go log in to email account B (I like to just be logged into each Gmail address from in a different brand web browser.) Click the verification link in the confirmation email that arrived at this address you’ll be forwarding to.

6. Now go back into account A. Locate the radio-button dot next to the ‘Forward a copy of incoming mail to…’ option. Select the forwarding address you just set up (from the drop-down menu) to activate forwarding.
- Make sure to select the action you’d like your emails to take from the other drop-down menu too. You can choose delete Gmail’s copy for the original copies in your inbox, (that have been forwarded to the other email account B) or you can elect to leave the copies (they can act like a backup.) Finish by scrolling all the way to the bottom and clicking to *Save changes.*

7. Now go back into account B. Click the gear-icon in the upper right corner, and select Settings. Go to the Accounts and Import tab for the Send mail as section. Specify yourpreferred default account.
- Under When replying to a message, if you select Always reply from default address you’ll be able to automatically send emails “as” email address A (without having to select it). This way you can compose new mail from either address, but the one you designate as the “default” will auto-fill.
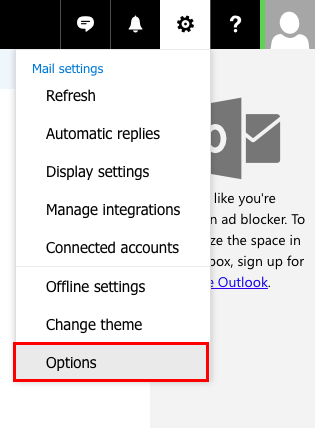
Hotmail
1. Select Options.
2. Under Accounts, Select Forwarding.
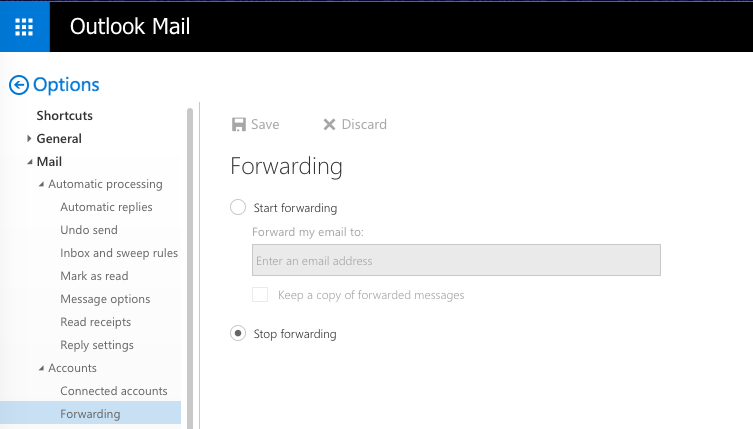
3. Click Start Forwarding, Enter Email Address, Select Save.
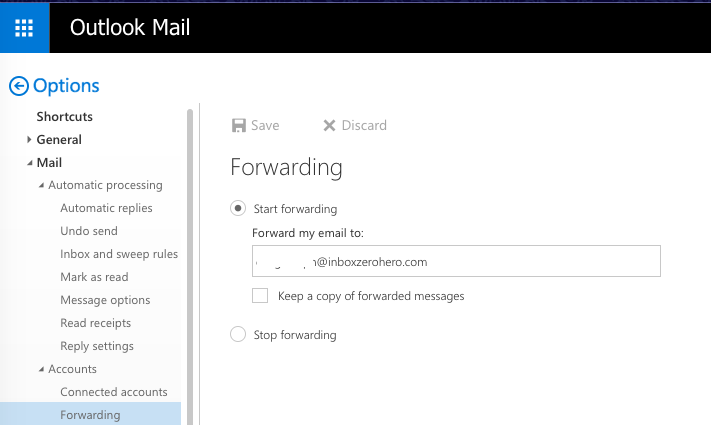
4. All emails from this address will now be forwarded to the email address you entered above.
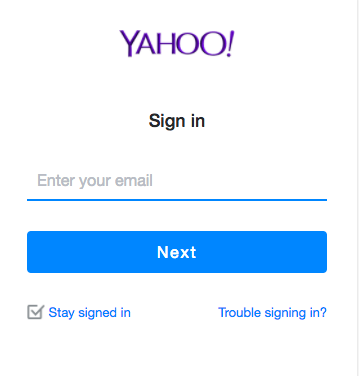
Yahoo
1. Log into your Yahoo Mail account.
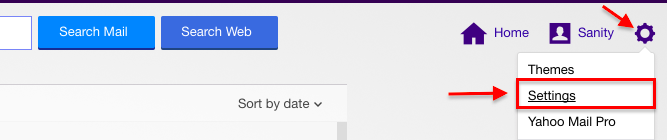
2. Click the Gear button in the upper-right corner and select “Settings.” This will open a new window.
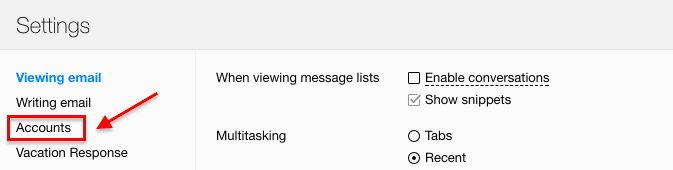
3. Click the “Accounts” tab. Your Yahoo Mail account and other connected accounts will be displayed.
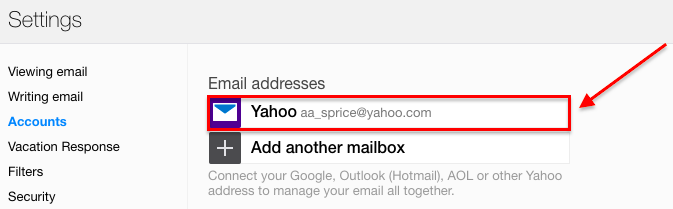
4. Click your Yahoo Mail account at the top of the Accounts window. This will open your Yahoo Mail account settings.
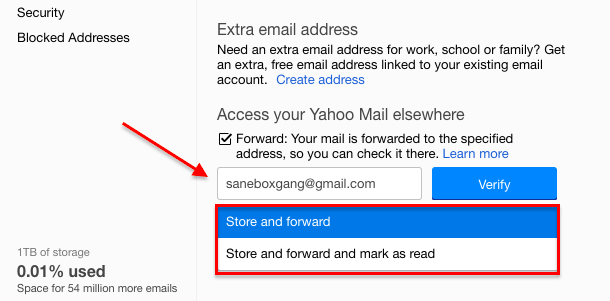
5. Scroll down and select the “Forward” option. This will allow you to forward messages to other accounts.
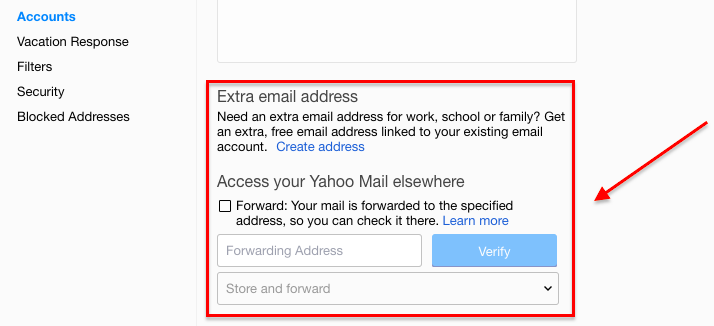
6. Enter the email address you want to forward messages to, choose what you want to happen to your messages after forwarding and click “Verify”. Yahoo will keep your email stored on your Yahoo account after it is forwarded to the other address. You can choose to store it as is or mark it as Read. Selecting verify will send a verification message to the address you entered.
7. Allow the pop-up if your browser blocks it. Many browsers will block the verification pop-up that appears after clicking “Verify.” If the pop-up doesn’t appear, click the pop-up icon on the right end of the address bar and allow pop-ups from Yahoo Mail.
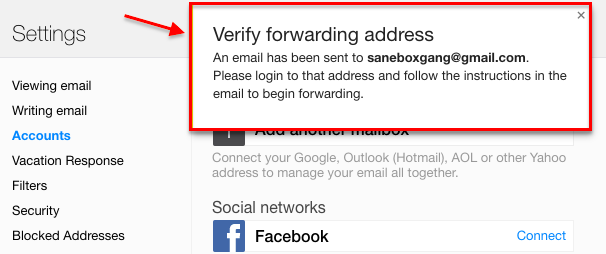
8. Open the verification message that is sent to the address you entered. You’ll need to use this message to verify that you own the account you entered.
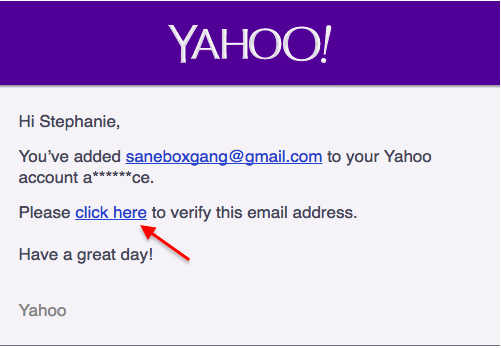
9. Click the link in the verification email. This will verify that you own the account, and add it to your Yahoo Mail account.
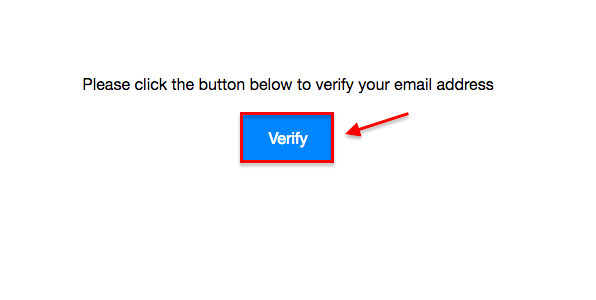
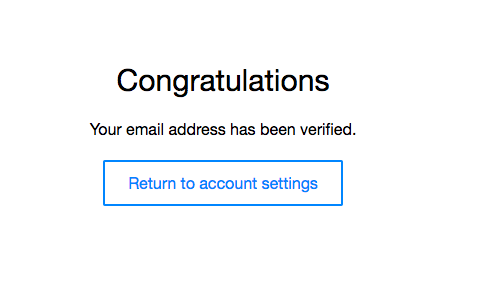
10. You will receive a Congratulations message if all is successful.

NOTE: Be certain to scroll down to finish with the “Save Changes” button.

Office365
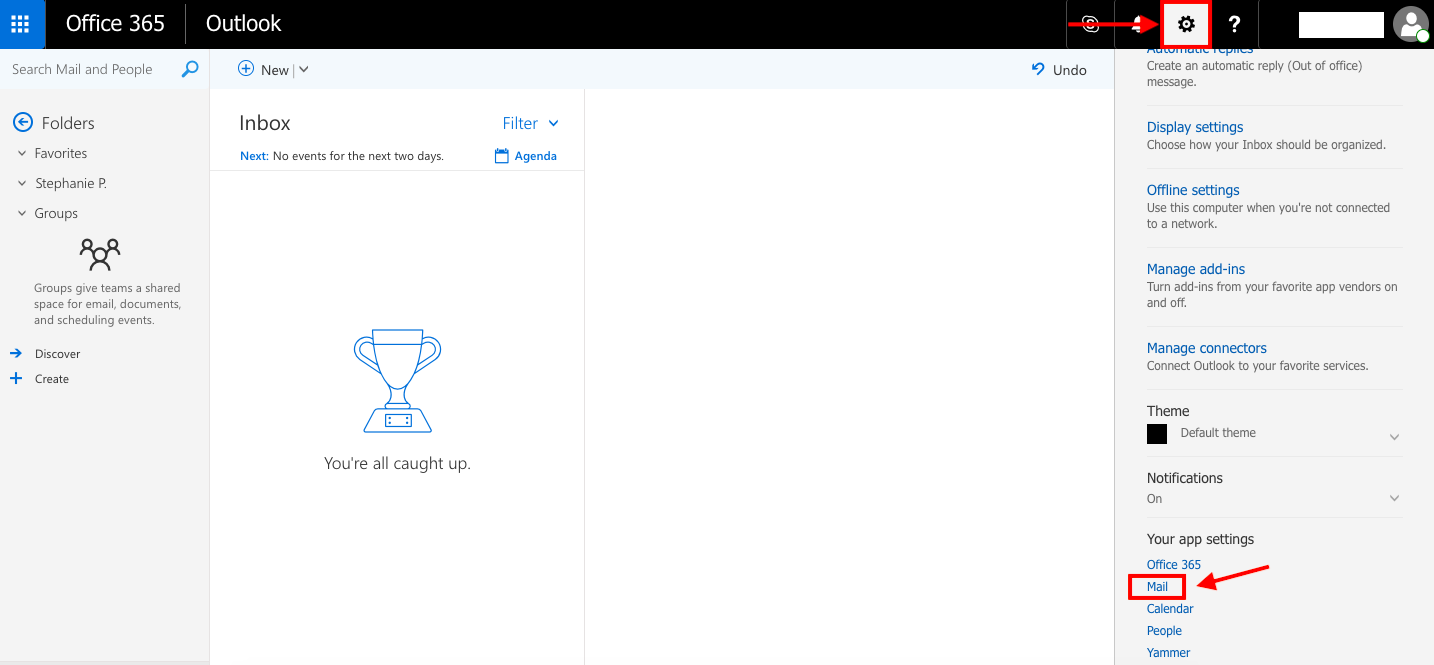
1. Select Settings and Mail.
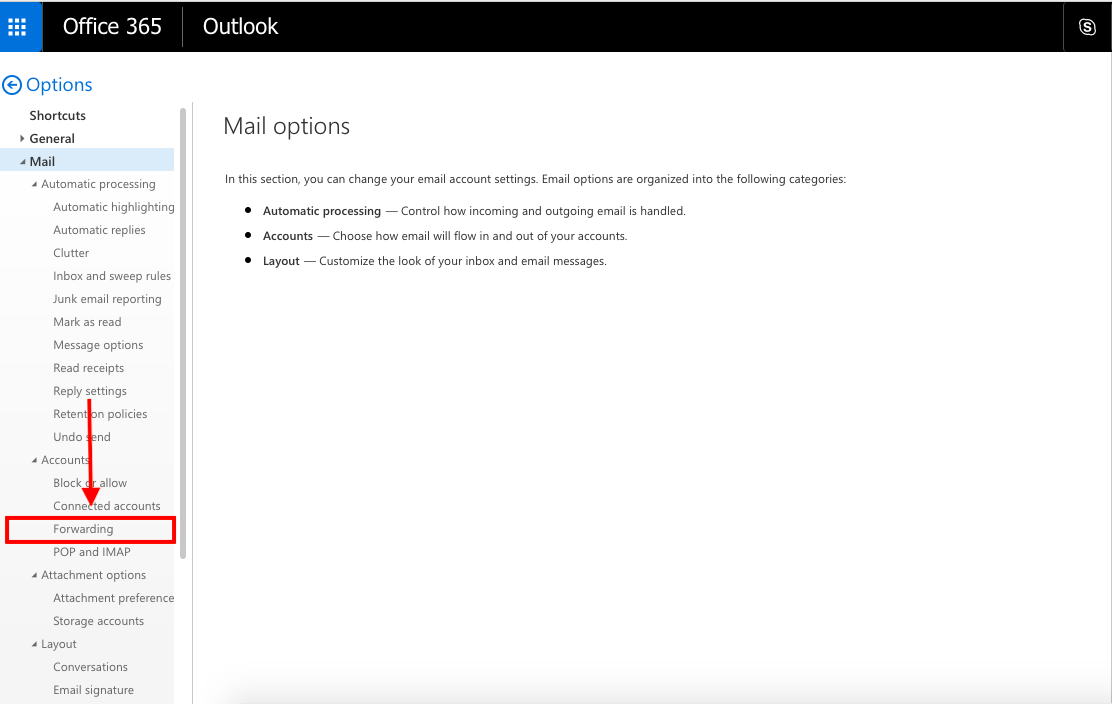
2. Under Mail – Accounts, Select Forwarding.
3. Select Start Forwarding.
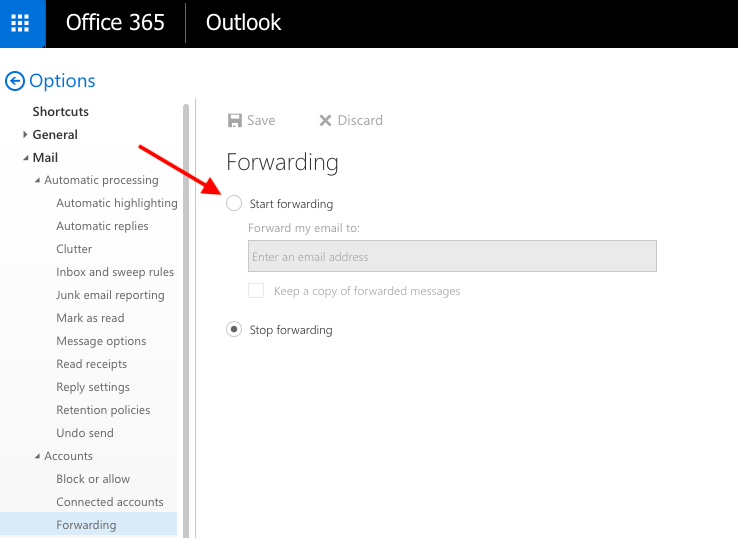
4. Enter the email address you want to have emails from this address forwarded to and whether you would like to keep a copy on this email account.
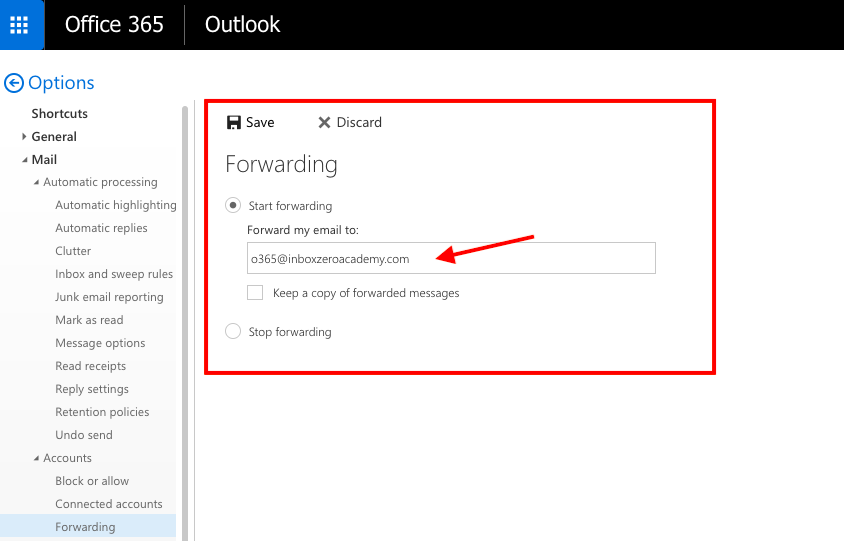
5. Select Save.

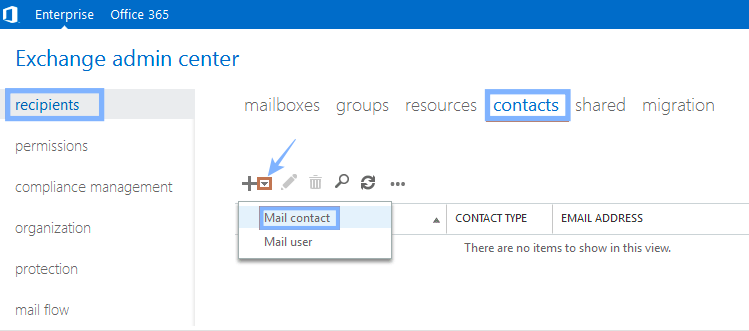
Exchange
1. Create a contact with the email address you want to forward to. (You’ll need to Log on to EAC with administrator credentials to do this.)
2. Click Recipients in features pane and select Contacts tab.
3. Click small triangle and select Mail Contact. (A new mail contact form will pop up.)
4. Fill in the information of new mail contact.
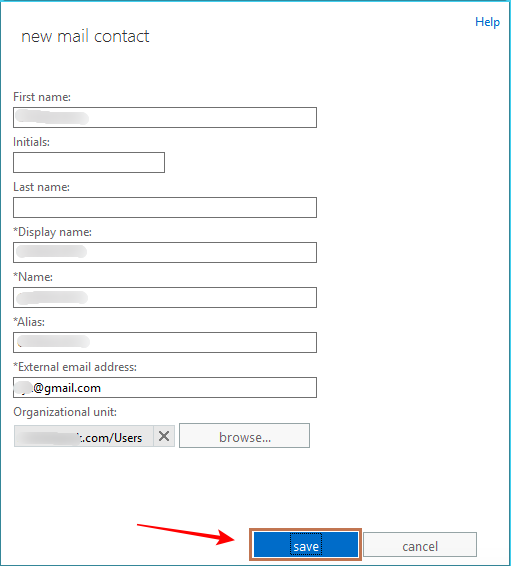
5. Click Save.
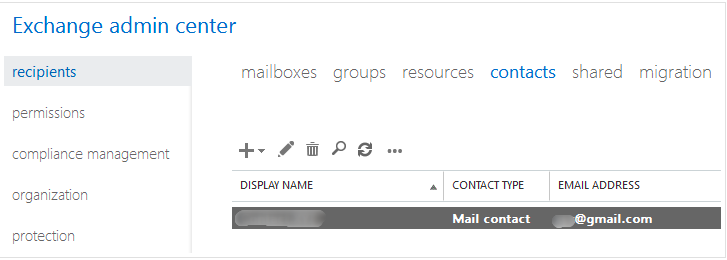
6. Click the Mailboxes tab on the same features pane.
7. Double-click on your contact to open up the properties.
8. Click the Mailbox Features tab.
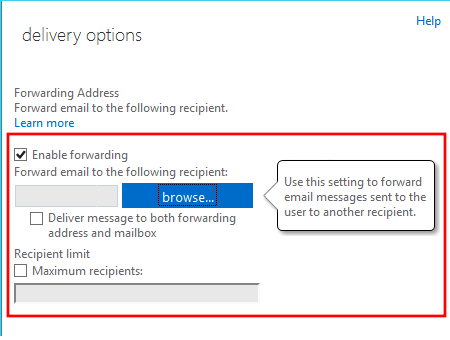
9. Under Mail Flow, Delivery options click View Details.

10. New page for delivery options will open. Here, check the option, enable forwarding.
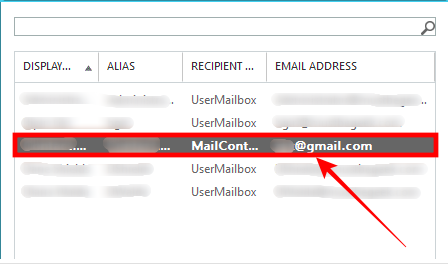
11. Click browse and select the contact and click OK.
12. Check the option, Deliver message to both forwarding address and mailbox.
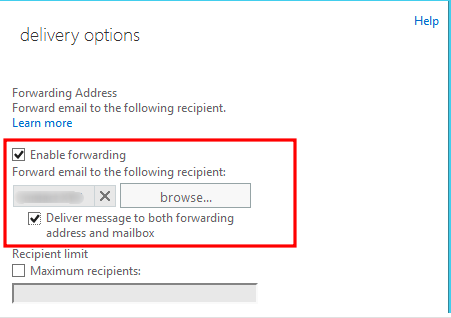
13. Click the OK button.
14. Click Save button.